I'm giving away the first laptop I bought new (for the better part of NZ$5000; I had one second hand laptop prior to that), because I hadn't even turned it on in a couple of years. So I put the original (20GB) hard drive back into it, and took the 40GB hard drive out to replace my "portable media" drive (which was previously the old 20GB drive from that laptop). Before wiping the 40GB drive I took a backup of the contents, and then thought I'd see if I could convert the installation into a virtual machine just in case I wanted to run anything that had been on the machine, or revel in the old XDM login screen and my minimal desktop.
After some searching, the process turned out to be fairly simple:
dd if=/dev/sdb of=MACHINE.hd bs=32768 # On linux, where /dev/sdb is the drive reference assigned to the USB drive with the disk in it
qemu-img convert -f raw -O vmdk MACHINE.hd MACHINE.vmdk # On Mac OS-X or Linux
Create a VMWare Fusion virtual machine pointing at the existing disk image (and tell it that it can share it, or take control of it) (in my case the disk image was on an external drive, which seemed to be fine, although it did report it was for an older VMWare version and offer to convert it -- I declined)
Boot up the new virtual machine off the virtual disk
Switch network module to
pcnet32and make sure the network worksReconfigure XServer to use
vmwaredisplay module
Reading in the disk image took about 45 minutes, and converting it also took about 45 minutes, for a 40GB disk image (much quicker than the times listed in the example I followed) . In both cases I think it was limited by the disk transfer speeds, especially converting which was reading/writing via the same USB connected disk.
Switching the network module was trivial (just edit
/etc/modules) in my old Linux install. Switching the
XServer was a bit more tricky mainly because I had to remember what to
do. The installation had XFree86 4.3 on it (second to last version of
XFree86 used, before the switch to x.org), which fortunately included
the vmware module (earlier versions needed a binary/source
download). The trick to reconfiguring is:
mv /etc/X11/XFree86-4 /etc/X11/XFree86-4.old
dpkg-reconfigure xserver-xfree86
dexconf -o /etc/X11/XFree86-4
The last step (force the debconf configuration to be written out to the file that XFree86 uses) is necessary because the default behaviour of dpkg-reconfigure is not to overwrite the XFree86 configuration file if it has been changed in any way (including removed!) from the original one that it generated. (Thanks to Debian bug #223929 for the hint on what was required.)
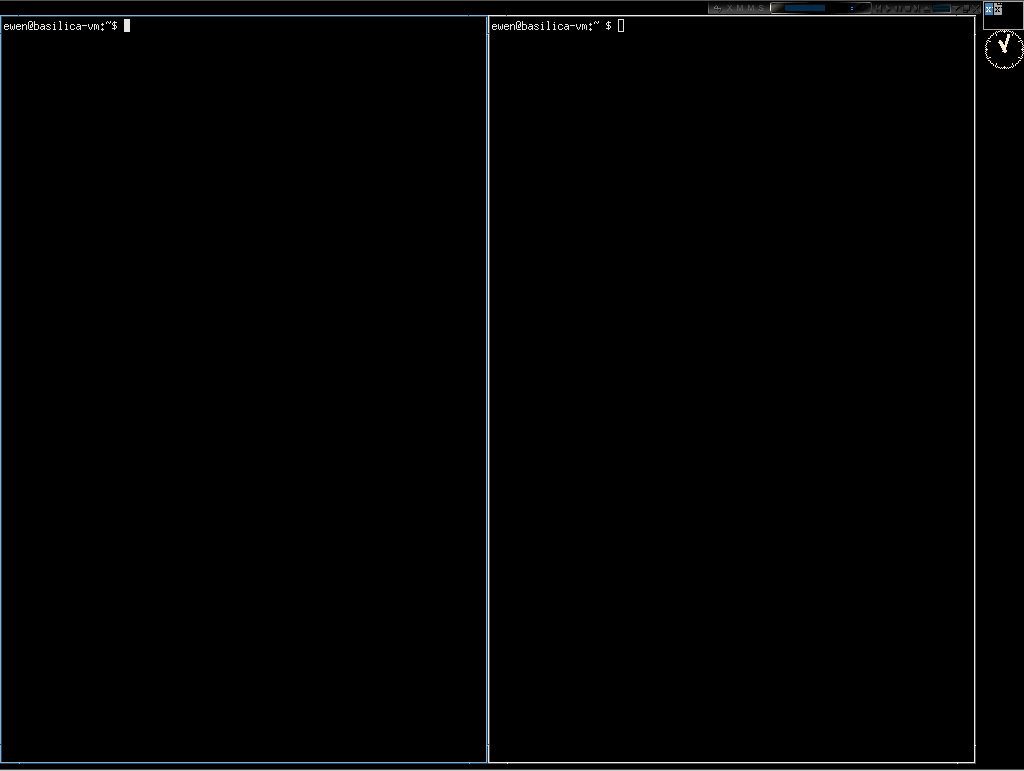
After that the newly virtual machine would boot up and operate basically as it had when it was on physical hardware. (Although I did have to go fix up my old shell config scripts after I changed the name of the host to have a "-vm" suffix.)
On a related note, someone has figured out how to get Microsoft's IE6/IE7/IE8 test VMs to run under VMWare Fusion. There's also a VMWare Converter tool which can be used with, eg, Windows conversions (at least when it can run something on the original physical host). And people have done Parallels to VMware and VMWare to Parallels and VMWare to KVM and conversions to Amazon EC2 (Amazon EC2 Developer Guide which uses Xen).
It's also apparently possible to mount VMWare Images natively (Novell guide), which I think is what the MacFUSE install by VMWare Fusion is intended for. (There's an old VMWare Disk Mounter for Windows too, but it seems mostly unmaintained.) Some people have figured out how to mount it with loopback mounts (another example).
The VMDK format seems to be semi-open, with some technical resources available, but I only found one cached copy of the specification.